De-Oranging Furniture
If you know me you know I love a good Facebook Marketplace find, especially when it involves antique-looking furniture. I recently bought a table that looked very similar to what I had envisioned for our dining room, minus one factor - it was stained your typical 90s orange wood. I figured with the price tag of only $100 I could tackle a little DIY project and give it a good ole facelift.
I had never sanded anything before, let alone furniture, so I started by doing some research. I read multiple articles and watched a few YouTube How-To videos before heading to the hardware store to grab the tools I needed.
Tools/Products Needed:
Different Grit Sanding Pads (80, 120, and 180)
Different Grit Sanding Blocks (80, 120, 180)
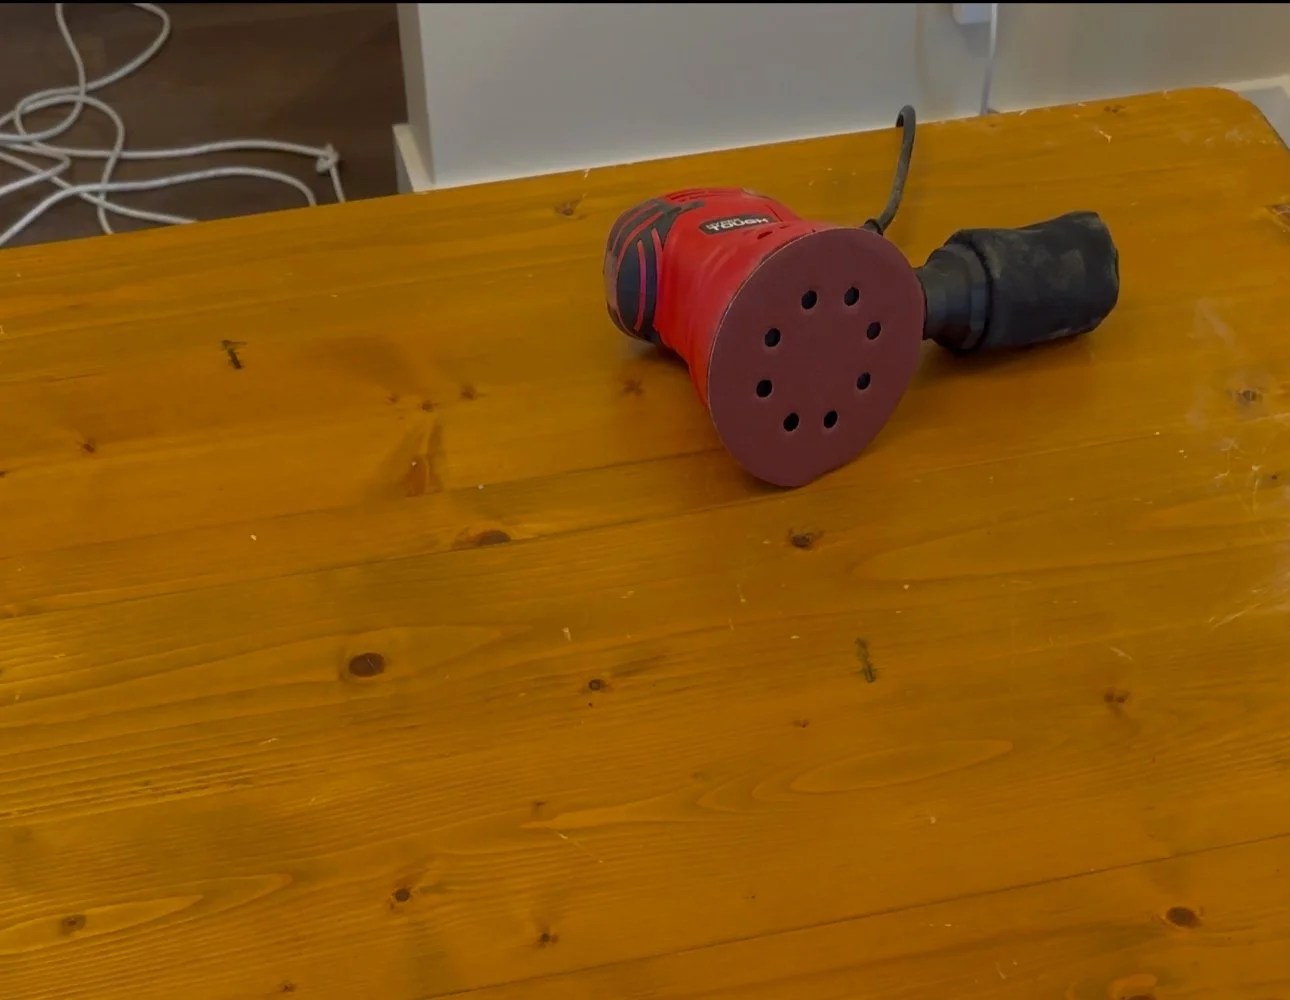
The biggest blessing during this project was buying an electric sander. I still had to sand the legs of the table and a few smaller spaces by hand with a sanding block, but the electric sander made the sanding portion of this project a one-day task vs. a multi-day task.
I started with an 80 grit sanding pad/sanding block to remove the majority of the orange stain. This was definitely the most tasking portion of the project. You want to make sure you keep the sander level and apply even pressure, moving with the grain of the wood. By the end of the day, my hands were achy and I had zero fingerprints left on the pads of my fingers (I promise the end result is worth it.)
Once the majority of the stain was gone, I switched to a 120 grit to continue removing any remaining stain and started to smooth out the wood.
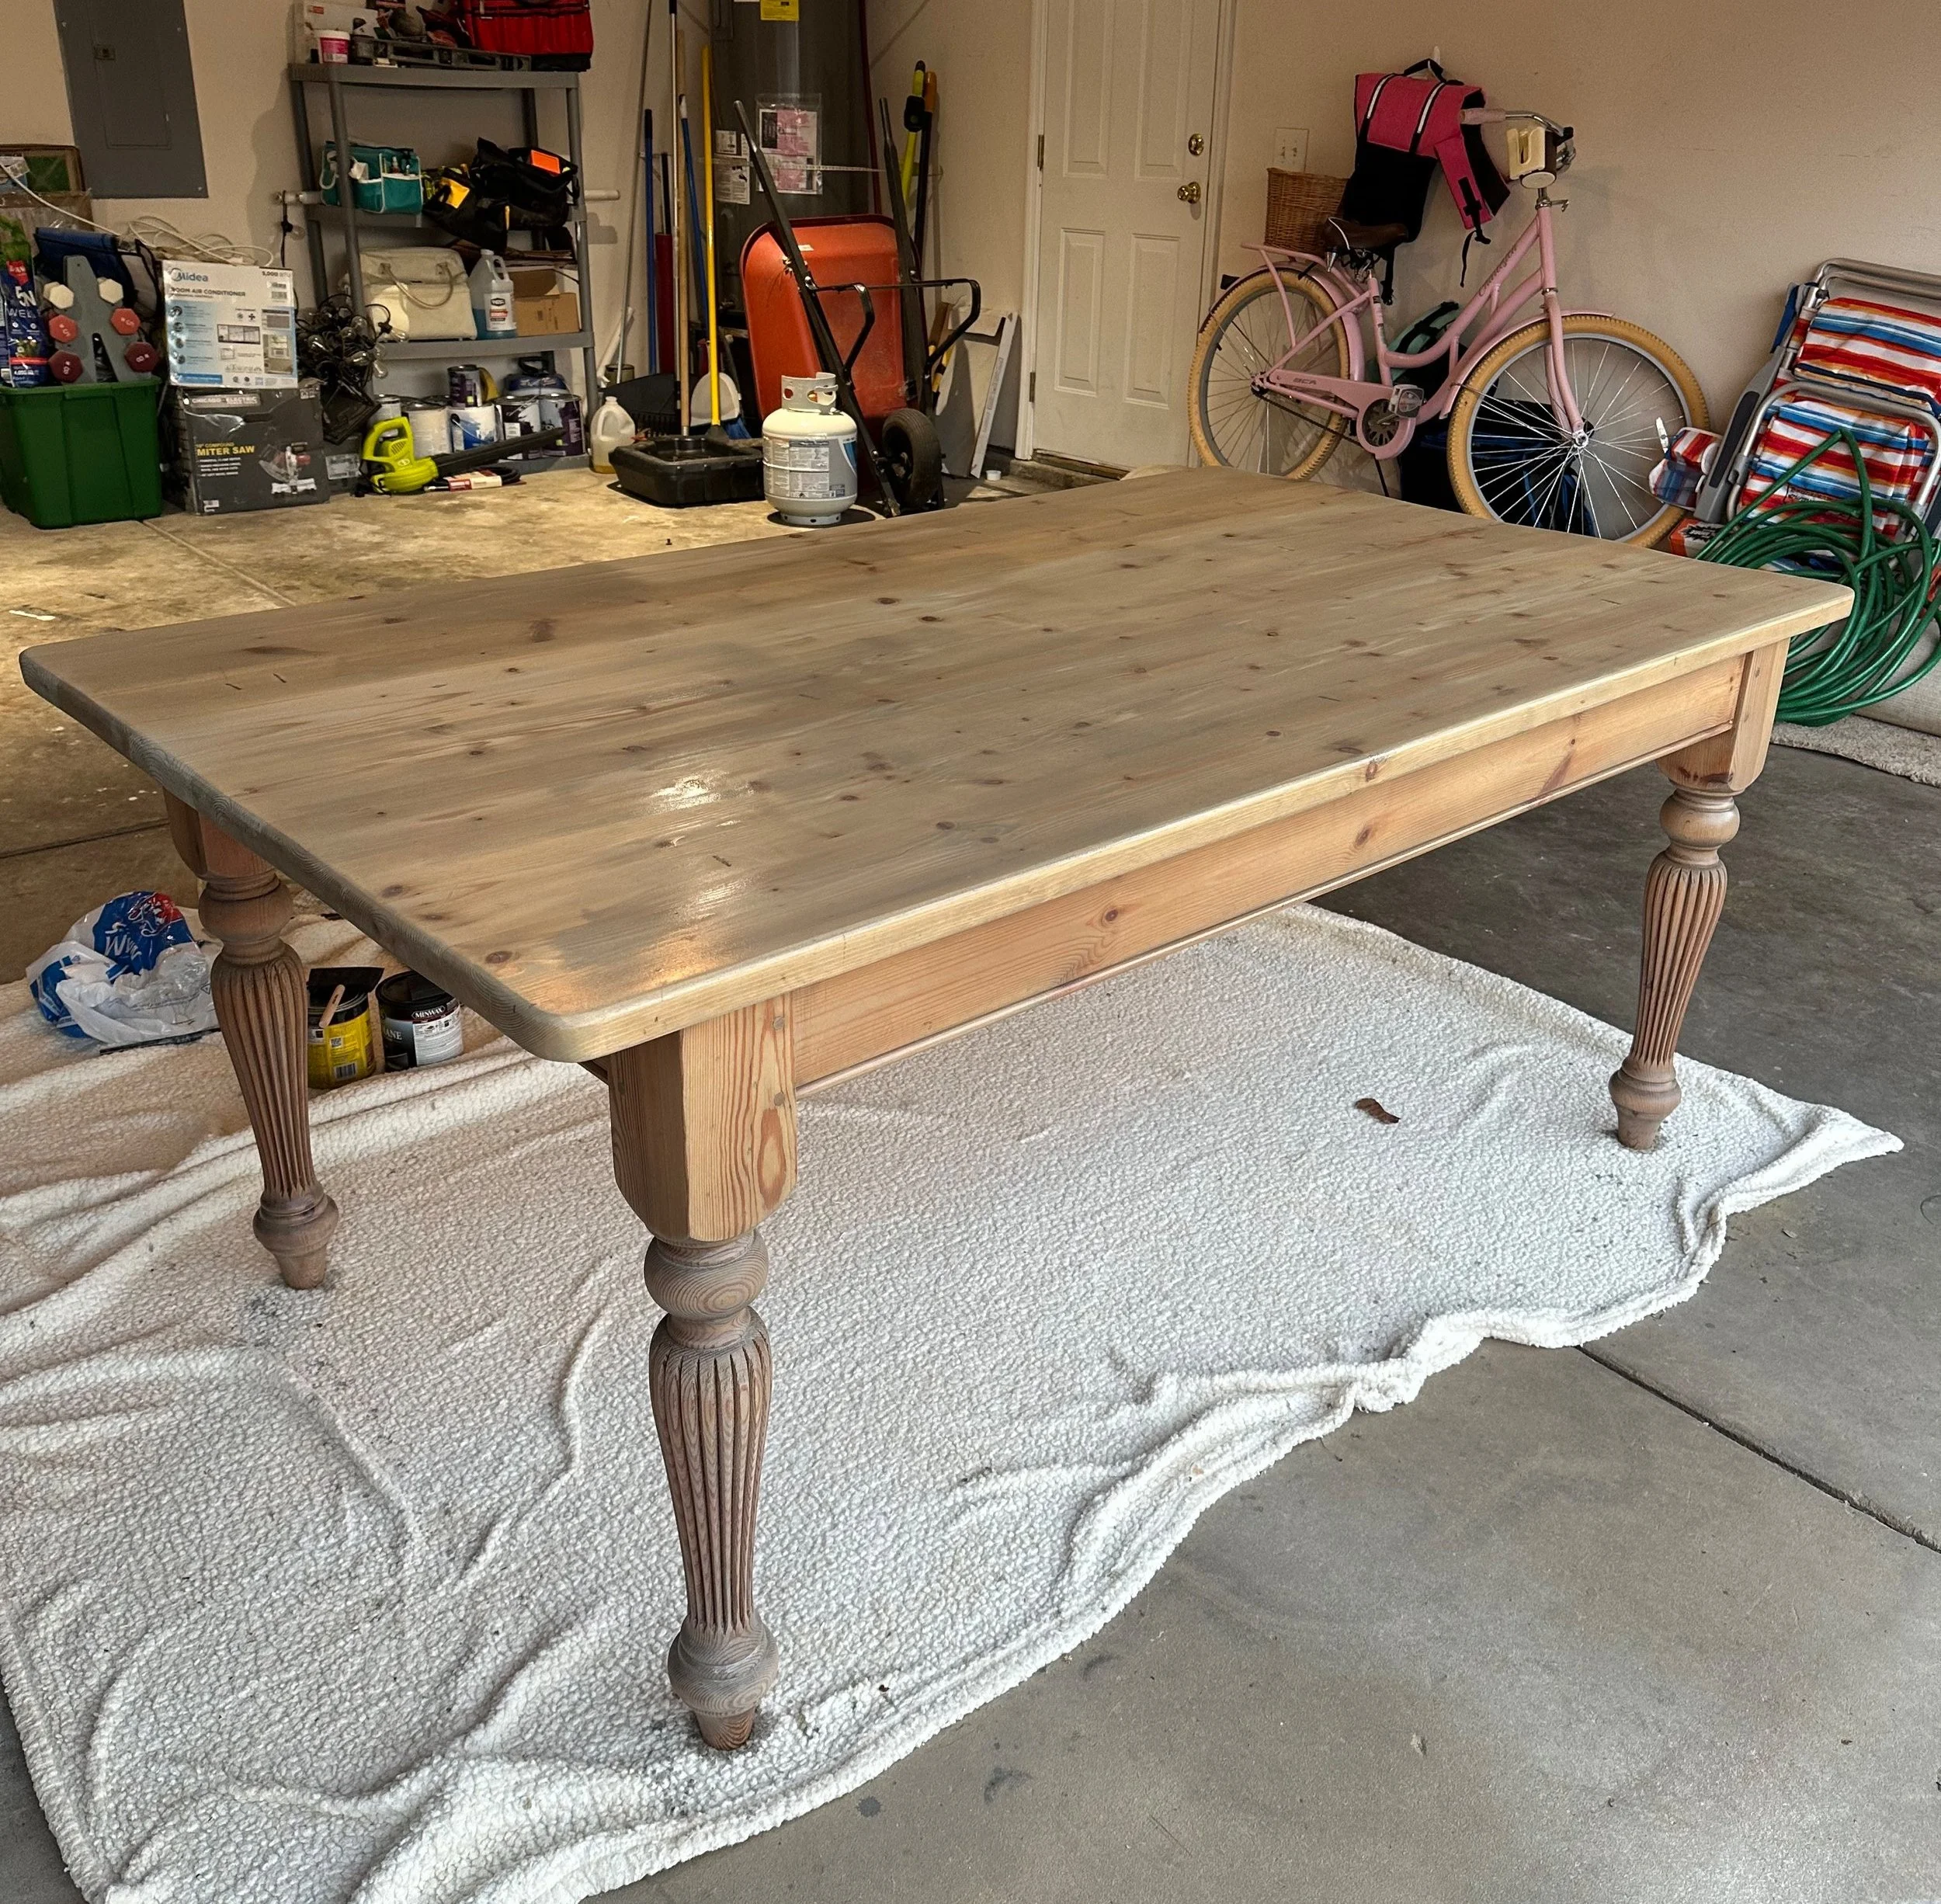
Finally, I did my last round of sanding with a 120 grit. This should make the wood feel extremely smooth and ready to absorb the stain.

This photo was taken right after I finished the last round of sanding. Getting in between all those small sections of the legs by hand really made me second guess my decision to take this project on, but if you don’t think that at least once during a DIY project then you are a special kind of crazy.
Now to the fun part - staining the table!
I originally chose the Minwax stain “Amber Pine” by Sherwin Williams. As soon as I put it on the table I was in love with the color. It was the perfect mix of light wood with gray/weathered tones. The picture below is right after I applied the stain.

The instructions stated to add one, even coat and let it dry for between 5-10 minutes before wiping off any excess stain. I decided to grab my foam brush and do a test strip in the corner of the wood before applying it to the entire table.
I let the stain sit and absorb for about 7 minutes, but when I wiped it off the color wasn’t quite what I was expecting. The wood didn’t absorb the stain hardly at all, and it looked almost identical to the way it did before I added the stain.
I decided to do a little more research and landed on the Minwax Stain color “Weathered Oak” for round two. I was reading the reviews and someone had used this stain on a yellow pine wood piece like my table and instead of wiping the stain off after a few minutes as instructed, they did one even coat on the entire surface and let it dry for 24 hours without wiping any excess stain off.
The photo they uploaded was the color I was envisioning so I decided to give it a try myself.
A piece of Advice: When you’re applying the stain, make sure to smooth out any bubbles and drip spots if you plan to not wipe off the excess as the stain will dry that way!
This photo was taken 24 hours after I applied the stain and when I say I am obsessed… I mean I am OBSESSED. It turned out to be the perfect weathered oak/gray look I was going for.
You may notice that the legs are more gray than the rest of the table, and I think that’s because they were made with a different kind of wood than the table top. The top was a yellow pine and after researching a bit I think the legs were maybe some type of red oak! Either way, the legs won’t be fully visible once I add chairs around it so it should look a little more cohesive.
The final step of the project was to add a sealant!
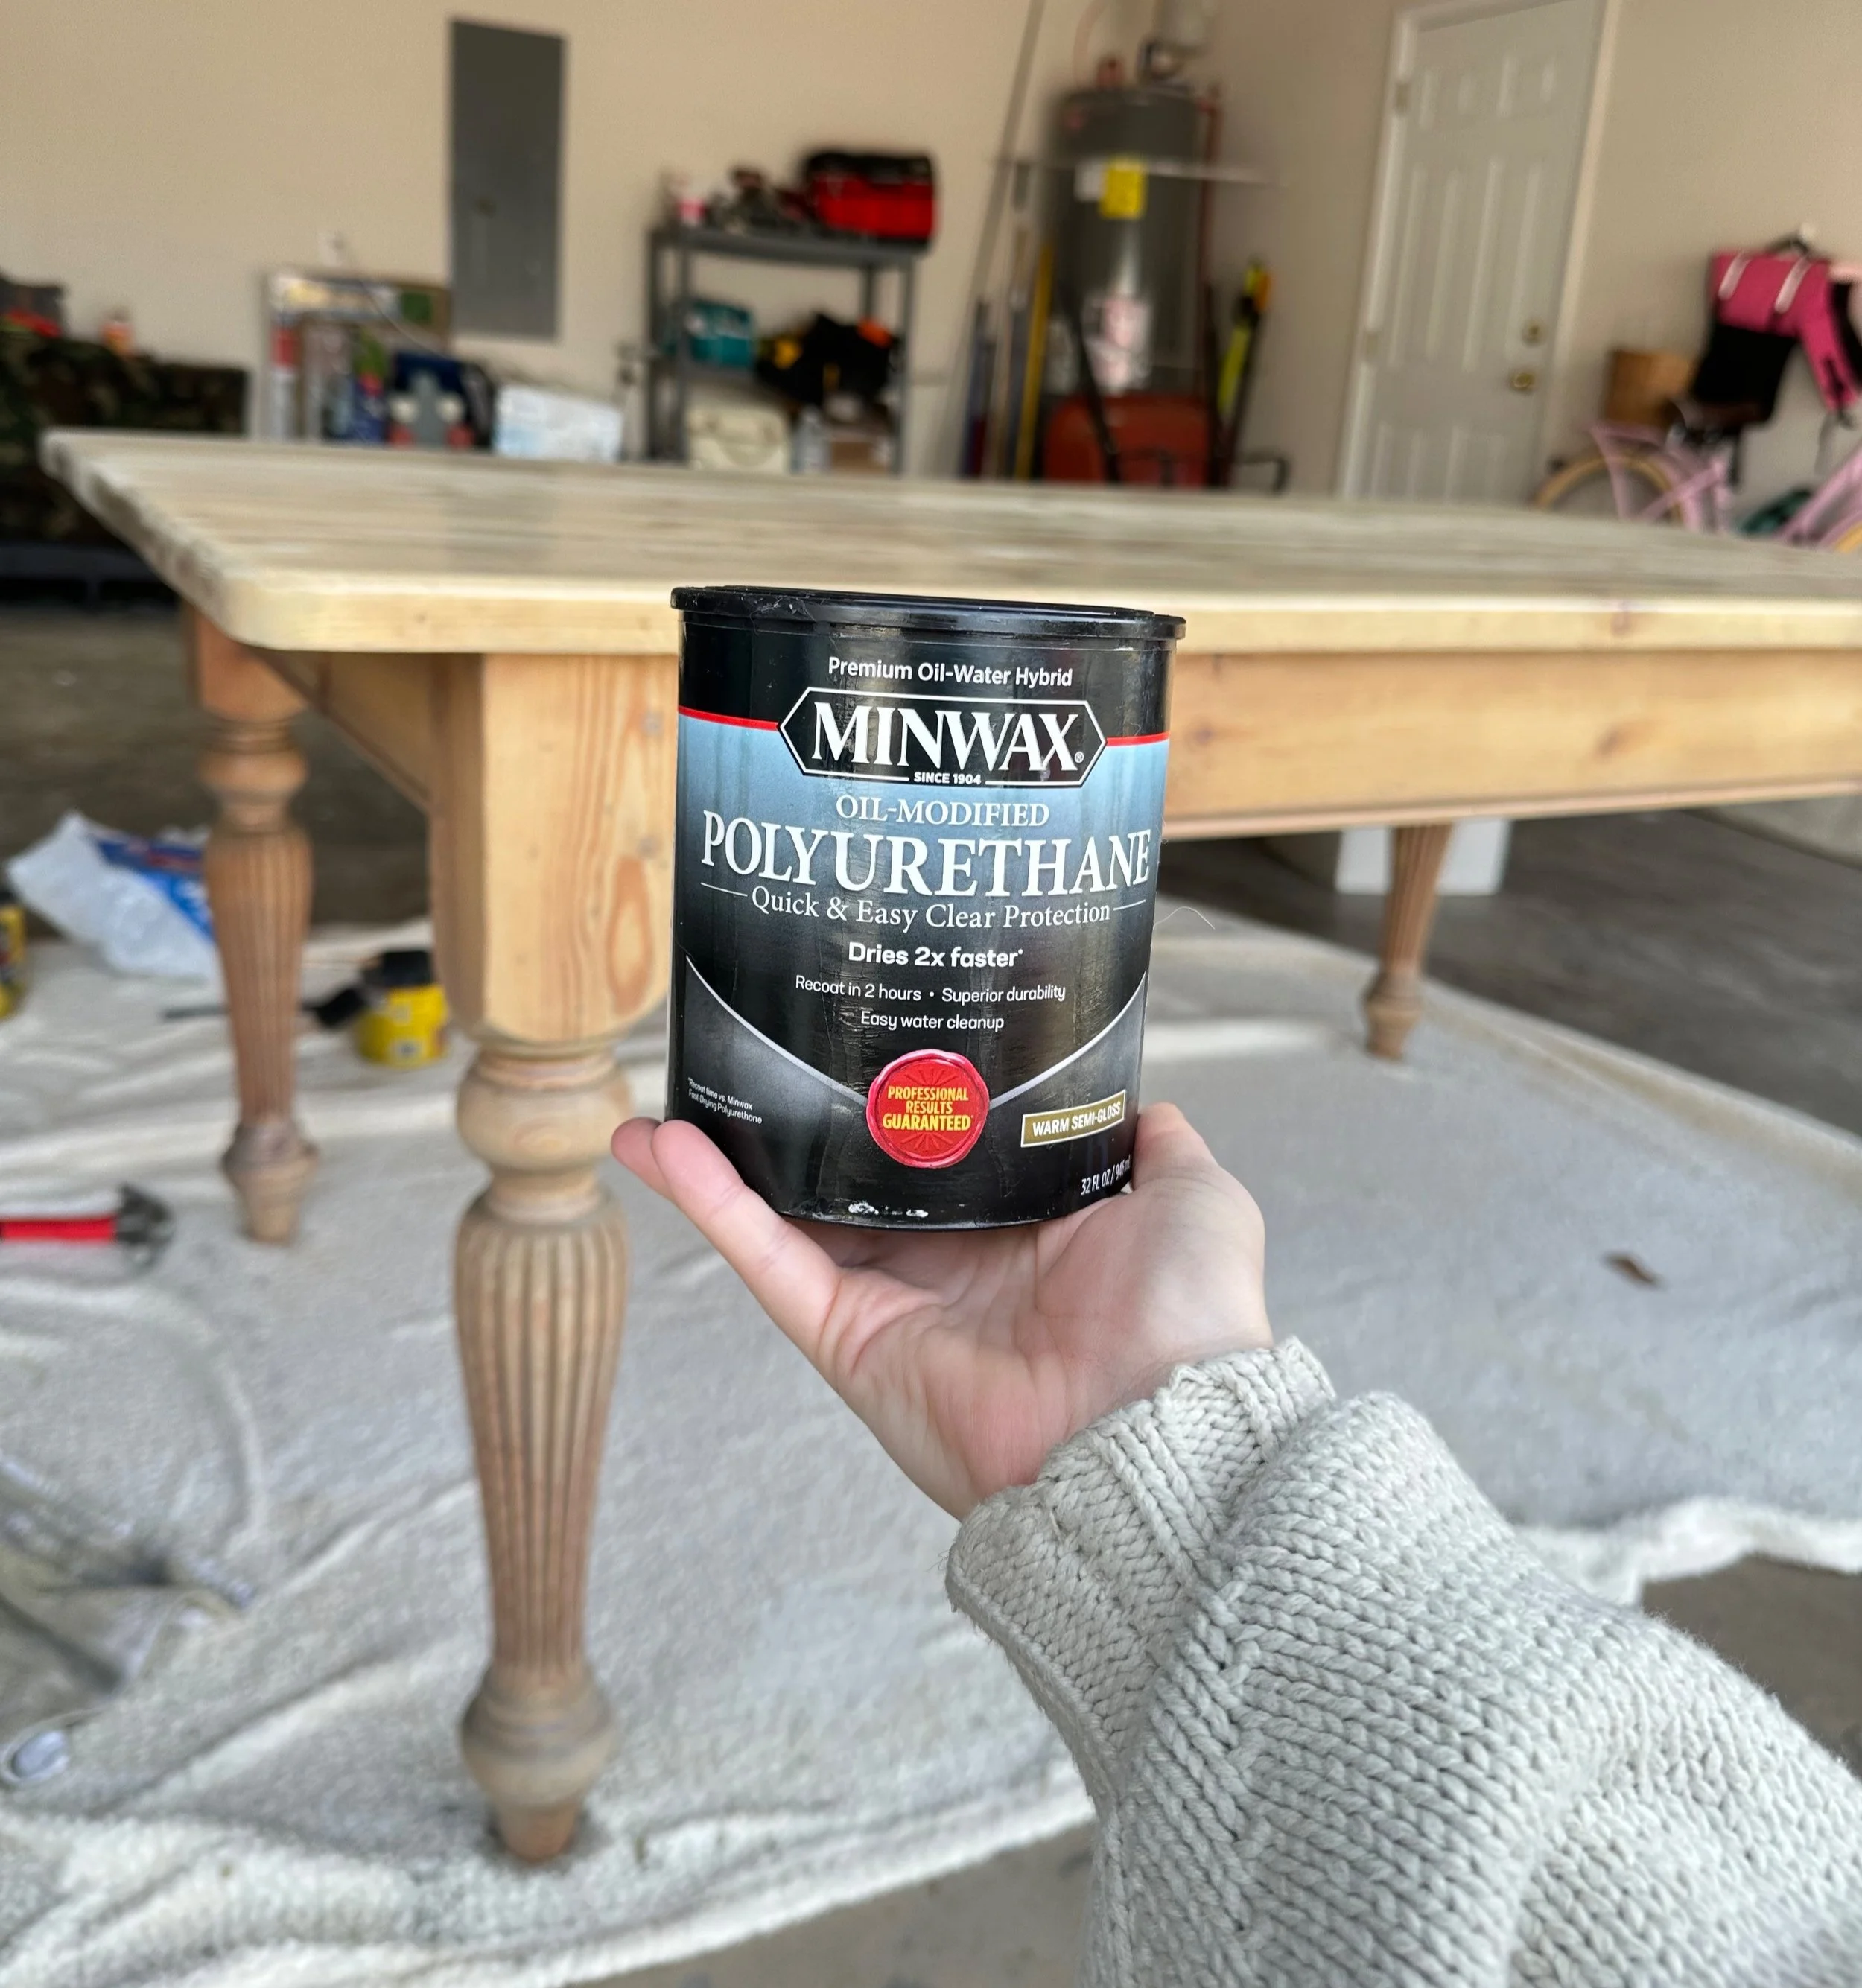
After chatting with the sales representative at Sherwin Williams, I decided to go with the Minwax Polyurethane Oil-Water Hybrid sealant. I grabbed a fresh foam brush and added one thick, even layer over the entire table.
This stuff dried way faster than I thought (even though it says it dries 2x faster on the packaging.) It was fully dry in about 3 hours; however, keep in mind that the table was in our garage where the outside temperature was 75 degrees so that may have added to the quickness!

We moved the table back into the dining room so I could see the finished product with the natural light of the room and I am so happy with the results!
Let this be a reminder that even if you have no idea what you are doing, it’s okay to try something new. And it’s okay for it to not go as planned! I had to pivot mid-project and do more research in order to get my desired look and there’s nothing wrong with that. Trying something new can be scary, but you never know what you’re capable of until you try!
Now… onto the hunt for the perfect chairs to match!